
Amitha's Blog
Amitha’s Guide to Creating a Jewel Box Powder Bath
Woohoo, I’m so excited to be designing my powder room!!
I have a confession to make, our old powder bathroom was hideous! I mean really hideous! It started out awful – terrible wallpaper, horrible vanity, no mirror and only one working light.
When we were doing renovations the first time (we had just bought our house) we simply took down the wallpaper and slapped on a simple coat of paint – my surefire trick for a fast update. But honestly, we had just had the hurricane, my first baby had just arrived, and we had really maxed out our budget. With the tiredness of being a new mom, I just decided to shelve that project for a while – but truly it was like a thorn in my side. Especially because as a designer I know, and I used to tell all my customers as well: a powder bath is a wonderful area to showcase your passions and what inspires you, and really embrace design.
So how do you create a gorgeous powder bathroom? Here’s the five-step formula I’ve used on every project and am now going to use on my own house!
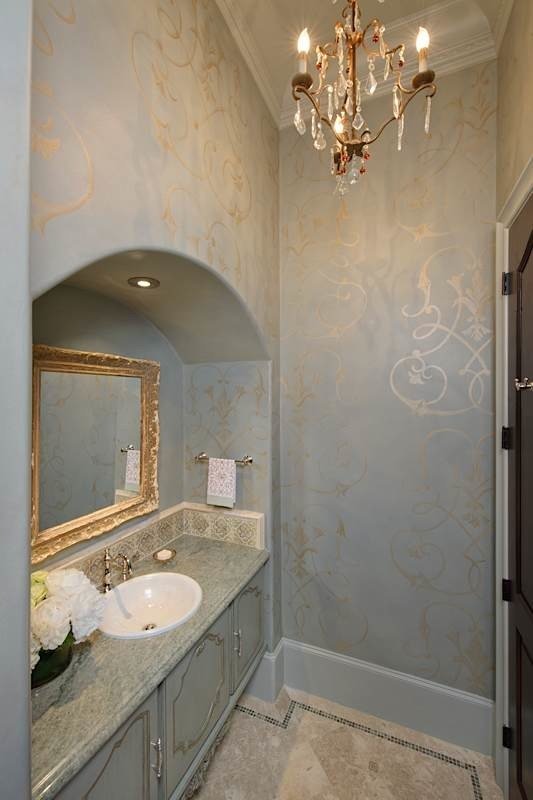
1. The Walls. When designing a dream powder bath I always get creative on how I’m going to address the walls. Wallpaper, faux paint or even a bold color choice – I really put a lot of thought into this area. In the past I’ve often used faux painting techniques or wallpaper. Here’s one of my favorite finishes, that we used on a past project:
2. Floors.
Once the wall finish has been selected, I move on to the floor. I don’t like to select the floor first because that locks me into a certain color palette. I either start with the walls or the vanity and then move onto the floors.
- When I’m working on the floor I often try to include a little tile design. I rarely just put one tile size down unless I want to keep the floor very simple, and even with that simple material I always use a special size or finish.
- You can do one of a few options including adding a border made from the same material – just ask your tile installer to cut a border size such as 4″ x 12″.
- You can also add a little “dot” of color in the corners or use a pre-made design like a little herringbone/chevron pattern that comes with multi-color options. So in the bathroom above, we used a gorgeous limestone all over the floor and then added a small border of this gorgeous marble tile and a little 1″ x 1″ dot on the floor.
- So in the bathroom above, we used a gorgeous limestone all over the floor and then added a small border of this gorgeous marble tile and a little 1″ x 1″ dot on the floor.
3. The Vanity. This is really important because what you select is what can make your powder bathroom truly special. Many homes come with a standard white cabinet with a sink in it. Now unless the white really matches your tile work and walls – it probably sticks out like a sore thumb. Here are the two things I do when I’m working on a job:
- If it’s a renovation or we can’t remove the cabinet, I apply a specialty finish like in the photo below. I took cues from the tile work and helped create a beautiful, sophisticated look with just paint. You can do the same with our own paint.
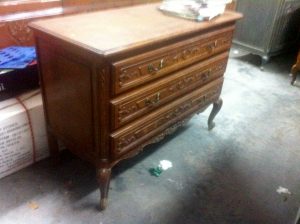
- If I’m starting anew, I always look for a piece of furniture, preferably an antique, to turn into a bathroom vanity. Antique commodes and small buffets give you a sense of character you just can’t duplicate. For example, here are a few that we have at Village Antiques that would be great for a bathroom vanity. Remember: you want to look for something at least 30″ high and not really much higher than 36″.
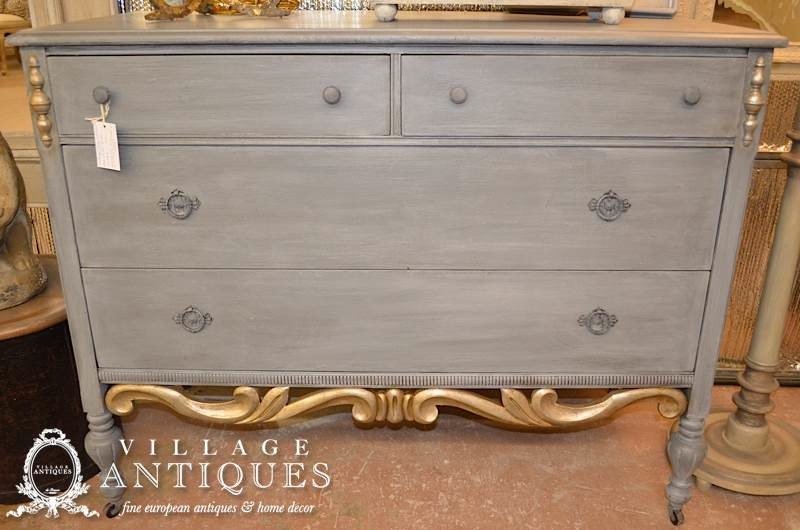
Available at Village Antiques, $1,200 (MLS)
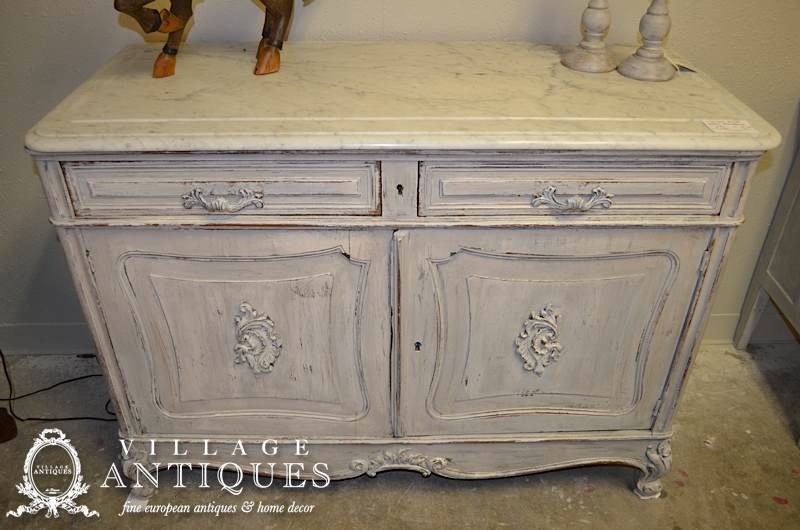
Available at Village Antiques, $1,950 (CKL)
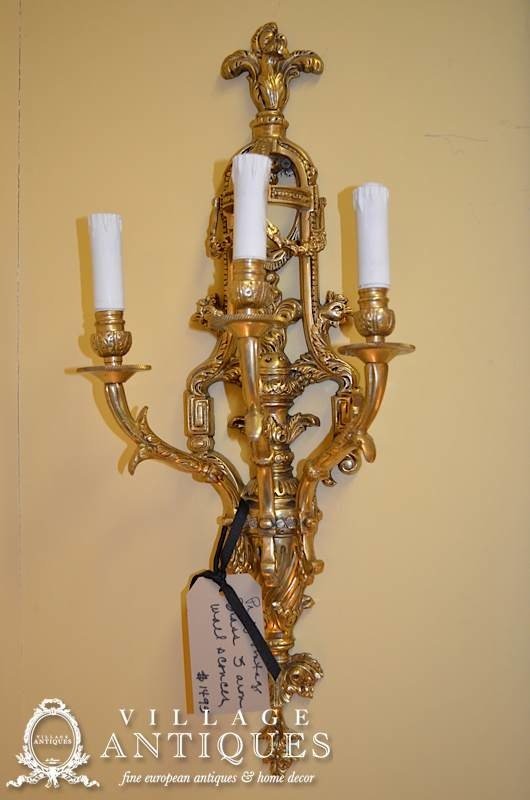
4. Lighting. Lighting selections are very important, and I tell you something: nothing says blah more than those awful builder grade sconces! This is really vital to update as well. I always consider two spots when designing the powder:
- If I have the room, I love to look for a pair of decorative sconces. If space is tight you can always put one larger sconce above your mirror but a pair of sconces illuminates the face the best.
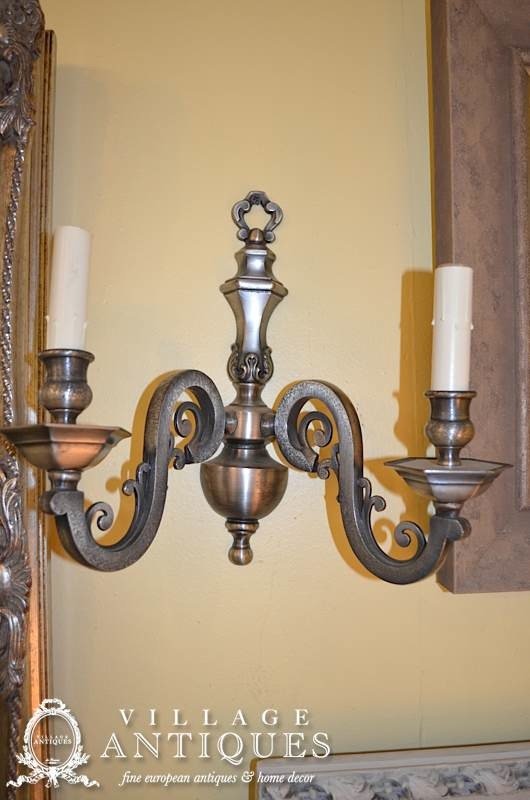
Available at Village Antiques, $480 per pair (PAD-376)
Available at Village Antiques, $1,495 per pair (GMAI)
- Second, I always try to fit a little petite chandelier into the bathroom. Remember, look for something small, like 12-18″ in diameter.
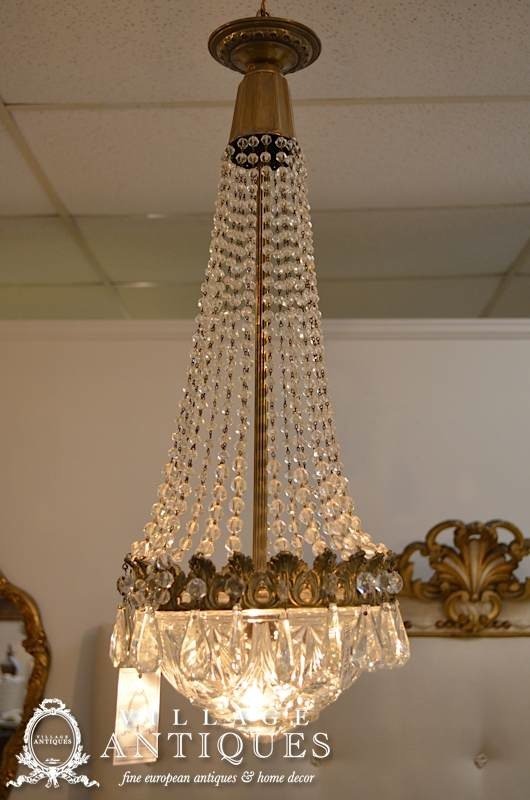
Available at Village Antiques, $649 (GCI)
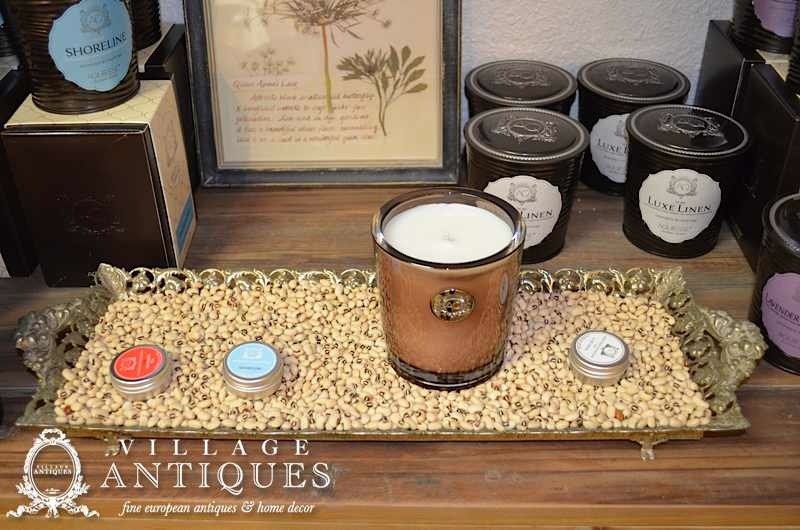
5. A few finishing touches. Last but not least, always consider a few finishing touches such as a pair of candlesticks, a lovely scented candle and my favorite for when you’re having an event – an arrangement of fresh flowers!
Available at Village Antiques, $14.95 (GMAI-16614)
Available at Village Antiques, $29 (SBA)
I hope you’ve enjoyed this article, if so please share it with a friend! Leave a comment below and tell us about your bathroom renovation! Also, please RSVP below to join us for our Easter Tablescape Class!

Cheers,


Secret Tool Revealed
High-priced interior decorators desperately want this hidden: YOU can transform your home into a gorgeous dwelling—all by yourself—and save thousands. All you need is a few dollars’ worth of material. Access this amazing secret RIGHT NOW, and revitalize your home...in just a few hours.